The forum pages are fully operational! See this link for the latest forum topics, where users can collaborate or discuss certain topics in one place!
Difference between revisions of "Buster Baxter/Gallery"
(→Others) |
(→Others) |
||
| Line 384: | Line 384: | ||
April 9th 245.JPG | April 9th 245.JPG | ||
April 9th 247.JPG | April 9th 247.JPG | ||
Arthur Goes to Camp 1.JPG | |||
Arthur Goes to Camp 2.JPG | |||
Arthur Goes to Camp 3.JPG | |||
Arthur Goes to Camp 6.JPG | |||
Arthur Goes to Camp 15.jpg | |||
Arthur Goes to Camp 16.jpg | |||
Arthur Goes to Camp 38.jpg | |||
Arthur Goes to Camp 40.jpg | |||
Arthur Goes to Camp 46.jpg | |||
Arthur Goes to Camp 47.jpg | |||
Arthur Goes to Camp 49.jpg | |||
Arthur Goes to Camp 51.jpg | |||
Arthur Goes to Camp 58.jpg | |||
Arthur Goes to Camp 59.jpg | |||
Arthur Goes to Camp 60.jpg | |||
Arthur Goes to Camp 61.jpg | |||
Arthur Goes to Camp 64.jpg | |||
Arthur Goes to Camp 65.jpg | |||
Arthur Goes to Camp 71.jpg | |||
Arthur Goes to Camp 72.jpg | |||
Arthur Goes to Camp 73.jpg | |||
Arthur Goes to Camp 75.jpg | |||
Arthur Goes to Camp 79.jpg | |||
Arthur Goes to Camp 81.jpg | |||
Arthur Goes to Camp 82.jpg | |||
Arthur Goes to Camp 83.jpg | |||
Arthur Goes to Camp 84.jpg | |||
Arthur Goes to Camp 100.jpg | |||
Arthur Goes to Camp 110.jpg | |||
Buster Spaces Out 1.jpg | |||
Buster Spaces Out 2.jpg | |||
Buster Spaces Out 3.jpg | |||
Buster Spaces Out 4.jpg | |||
Buster Spaces Out 6.jpg | |||
Buster Spaces Out 7.jpg | |||
Buster Spaces Out 8.jpg | |||
Buster Spaces Out 9.jpg | |||
Buster Spaces Out 10.jpg | |||
Buster Spaces Out 11.jpg | |||
Buster Spaces Out 12.jpg | |||
Buster Spaces Out 13.jpg | |||
Buster Spaces Out 14.JPG | |||
Buster Spaces Out 15.jpg | |||
Buster Spaces Out 18.jpg | |||
Buster Spaces Out 19.jpg | |||
Buster Spaces Out 20.jpg | |||
Buster Spaces Out 21.jpg | |||
Buster Spaces Out 22.jpg | |||
Buster Spaces Out 23.jpg | |||
Buster Spaces Out 25.jpg | |||
Buster Spaces Out 27.jpg | |||
Buster Spaces Out 28.jpg | |||
Buster Spaces Out 29.jpg | |||
Buster Spaces Out 35.jpg | |||
Buster Spaces Out 37.jpg | |||
Buster Spaces Out 38.jpg | |||
Buster Spaces Out 40.jpg | |||
Buster Spaces Out 41.jpg | |||
Buster Spaces Out 42.jpg | |||
Buster Spaces Out 43.jpg | |||
Buster Spaces Out 44.jpg | |||
Buster Spaces Out 50.jpg | |||
Buster Spaces Out 52.jpg | |||
Buster Spaces Out 53.jpg | |||
Buster Spaces Out 54.jpg | |||
Buster Spaces Out 58.jpg | |||
Buster Spaces Out 62.jpg | |||
Buster Spaces Out 65.jpg | |||
Buster Spaces Out 66.jpg | |||
Buster Spaces Out 67.jpg | |||
Buster Spaces Out 71.jpg | |||
Buster Spaces Out 72.jpg | |||
Buster Spaces Out 73.jpg | |||
Buster Spaces Out 74.jpg | |||
Buster Spaces Out 75.jpg | |||
Buster Spaces Out 78.jpg | |||
Buster Spaces Out 79.jpg | |||
Buster Spaces Out 83.jpg | |||
Buster Spaces Out 88.jpg | |||
Buster Spaces Out 90.jpg | |||
Buster Spaces Out 93.jpg | |||
Buster Spaces Out 98.jpg | |||
Buster Spaces Out 99.jpg | |||
Buster Spaces Out 103.jpg | |||
Buster Spaces Out 104.jpg | |||
Buster Spaces Out 105.jpg | |||
Buster Spaces Out 106.jpg | |||
Buster Spaces Out 107.jpg | |||
Buster Spaces Out 109.jpg | |||
Buster Spaces Out 110.jpg | |||
Prunella Sees the Light 2.jpg | |||
Prunella Sees the Light 3.jpg | |||
Prunella Sees the Light 4.jpg | |||
Prunella Sees the Light 5.jpg | |||
Prunella Sees the Light 9.jpg | |||
Prunella Sees the Light 10.jpg | |||
Prunella Sees the Light 11.jpg | |||
Prunella Sees the Light 12.jpg | |||
Prunella Sees the Light 13.jpg | |||
Prunella Sees the Light 14.jpg | |||
Prunella Sees the Light 34.jpg | |||
Prunella Sees the Light 35.jpg | |||
Prunella Sees the Light 36.jpg | |||
Prunella Sees the Light 37.jpg | |||
Prunella Sees the Light 41.jpg | |||
Prunella Sees the Light 43.jpg | |||
Prunella Sees the Light 113.jpg | |||
Prunella Sees the Light 114.jpg | |||
Prunella Sees the Light 115.jpg | |||
Prunella Sees the Light 116.jpg | |||
Prunella Sees the Light 117.jpg | |||
Prunella Sees the Light 119.jpg | |||
</gallery> | </gallery> | ||
Revision as of 01:40, 21 January 2013
| This is the Buster Baxter/Gallery page |
| Place images in galleries in appropriate sections. Do not post fan art here. DO NOT make unnecessary headers, for example put a Screenshot header when there's nothing but screenshots.
See also: |
Promotional Images

Buster's signature, along with Arthur's, from the "Arthur's Guide to Children's Hospital Boston" website feature.
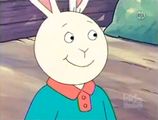
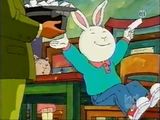
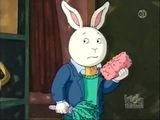
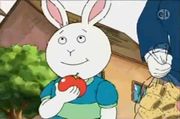
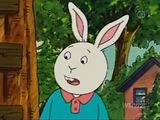
Buster being SUPER happy!

- Postcardsbuster.gif


Screenshots
Alternate Apparel
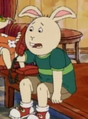
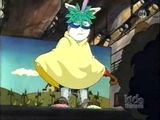
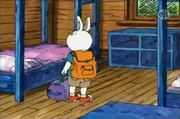
Buster in his summer clothes

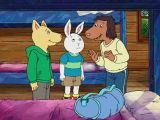
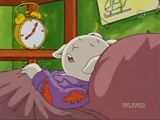
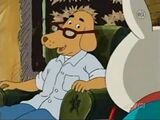
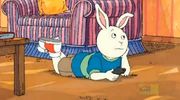
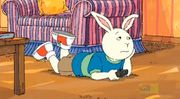
Buster in his dinosaur pajamas and aardvark slippers
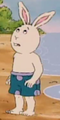
Buster in his teal swimsuit with periwinkle dots
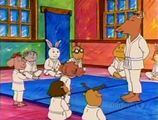
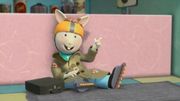
Buster wearing a karate uniform.
Buster wearing orange swim trunks.
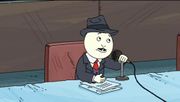
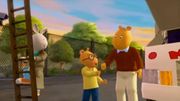
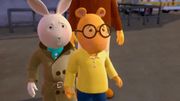
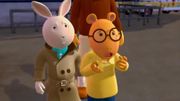
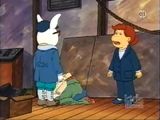
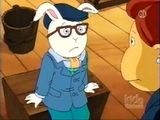
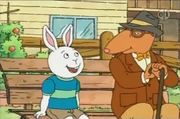
Buster in his detective clothes
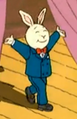
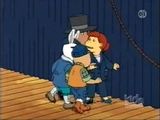
Buster in his blue tuxedo
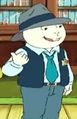
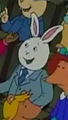
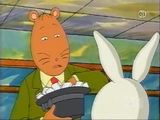
Buster in a hat and tie.
- P1010066.JPG
Buster in his Grebes outfit
Buster as Kenny
Buster as a fly
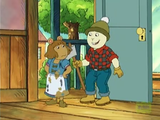
Buster as a woodcutter
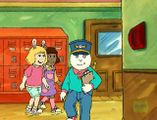
Buster wearing a mail hat.
Buster wearing a suit
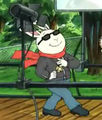
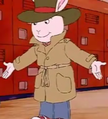
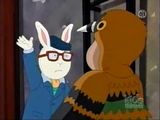
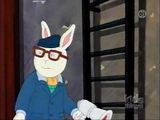
Buster wearing a black jacket, red scarf, sunglasses, blue pants, and black shoes
Buster wearing his sports clothes.


Others
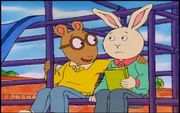
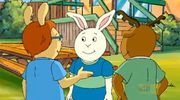
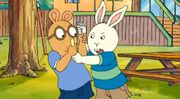
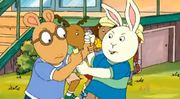
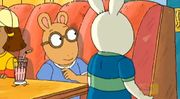
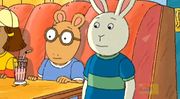
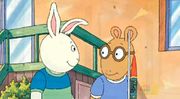
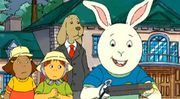
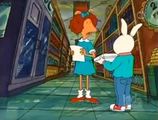
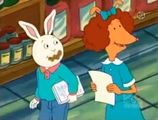
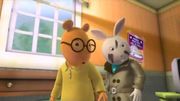
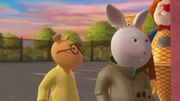
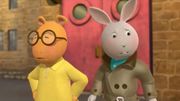
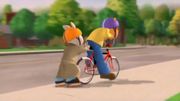
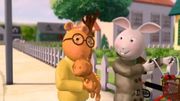
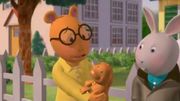
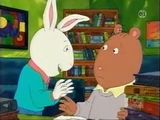
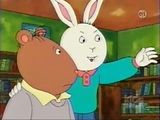
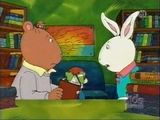
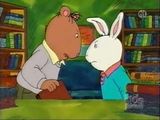
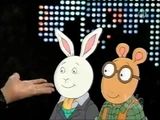
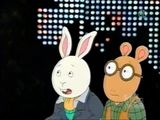
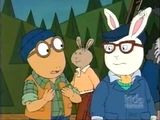
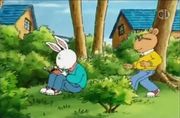
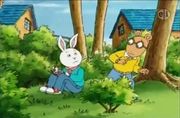
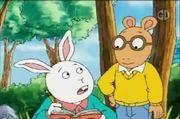
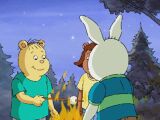
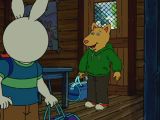
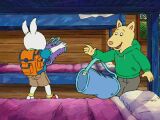
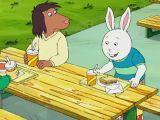
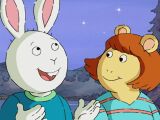
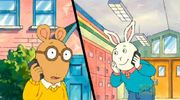
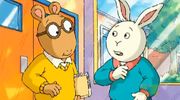
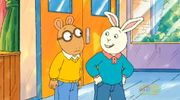
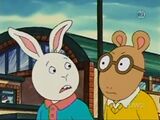
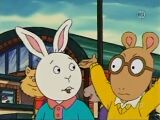
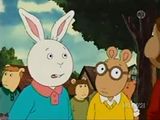
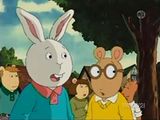
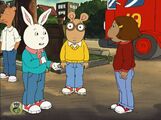
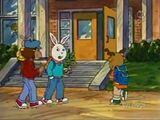
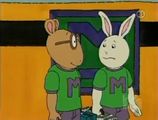
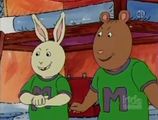
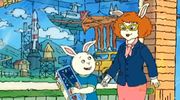
Arthur with Buster.
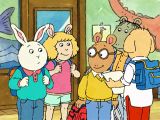
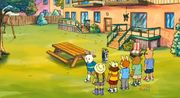
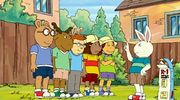
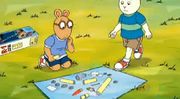
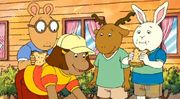
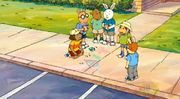
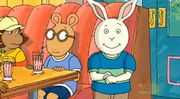
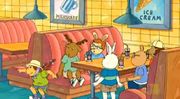
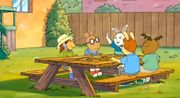
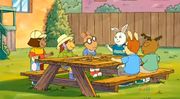
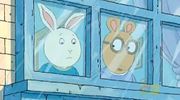
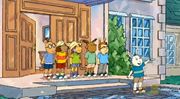
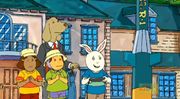
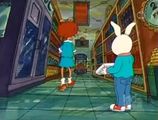
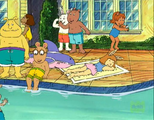
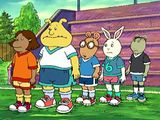
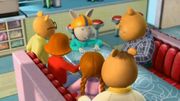
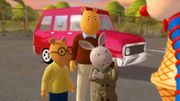
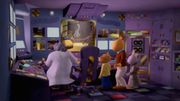
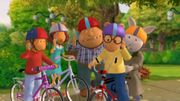
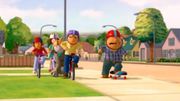
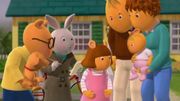
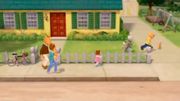
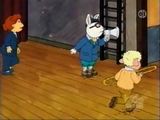
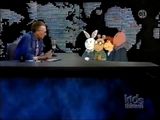
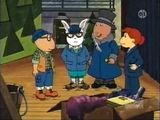
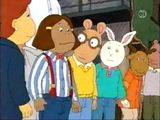
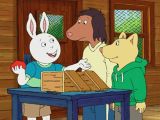
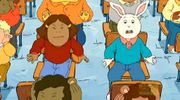
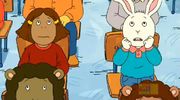
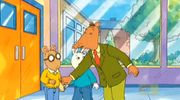
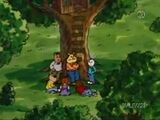
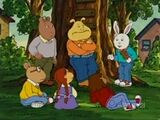
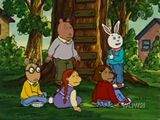
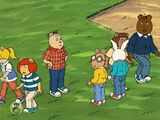
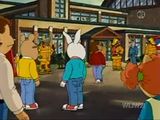
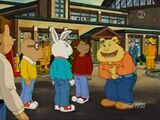
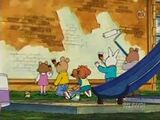
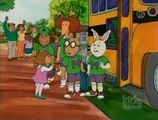
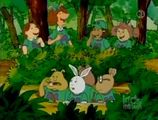
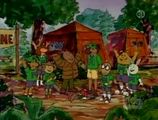
Buster with Arthur and the a few unnamed characters.
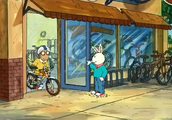
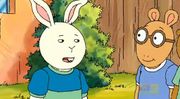
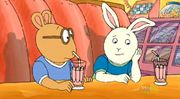
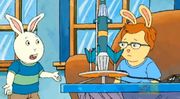
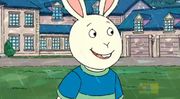
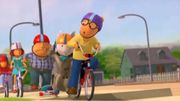
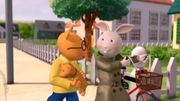
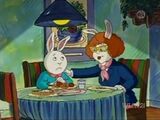
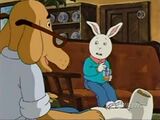
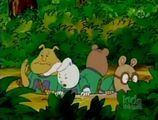
With his friend Daniel.


- Home Sweet Home 10.jpg


- Fifteen 8.jpg
- Fifteen 27.jpg


- April 9th 43.JPG
- April 9th 44.JPG


- April 9th 78.JPG
- April 9th 79.JPG

- April 9th 84.JPG
- April 9th 86.JPG
- April 9th 111.JPG
- April 9th 114.JPG
- April 9th 115.JPG
- April 9th 121.JPG

- April 9th 168.JPG
- April 9th 228.JPG
- April 9th 229.JPG
- April 9th 231.JPG

- April 9th 239.JPG


- Buster Spaces Out 14.JPG